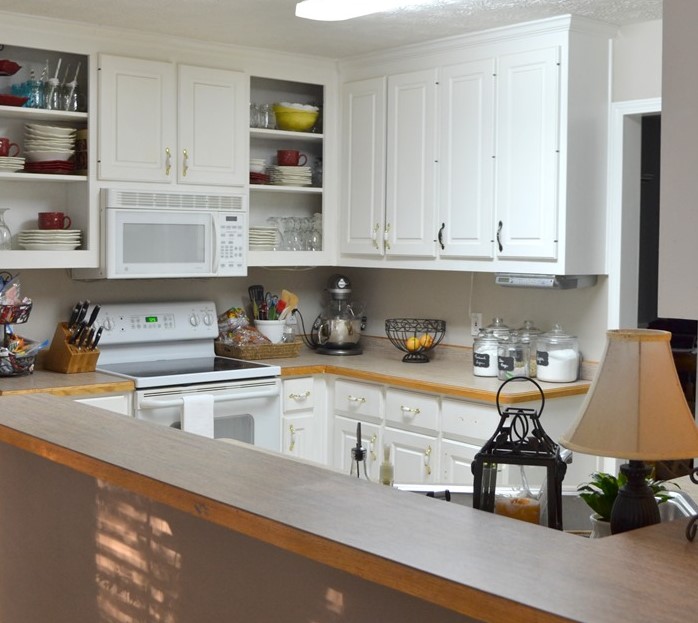
If you are in the middle of renovating your kitchen, you should consider this DIY beadcoard backsplash that you can install in your kitchen.
Step to Install Beadboard Backsplash
You can make your DIY cheap beadboard for your kitchen and hopefully you can get the kitchen look you want.
Now, you need to think few steps you need to do.
1. Preparing Tools
You will need some tools that you will use for installing this beadboard. The tools are Pneumatic Nailer with 16-gauge nails, Drill with 5/16-in. bit (pilot holes), Circular Saw, Jig Saw (cut out outlets), Screwdriver (to remove outlet plates), Tape Measure, Pencil, Caulk Gun, Very Fine Sanding Block, and Stud Finder.
2. Measuring the area
Before you renovate and remodel your backsplash, you have to know the size of the area in the kitchen that you want to give a backsplash. You can see the size of your counter to the backsplash area and it is usually the end of the counter.
3. Considering the Trim amount
Measuring how much trim that you need is also important. The trim that will be used is depending on your design and personal interest. People usually put the trim at the top and bottom of the beadboard only.
4. Choosing the Beadboard
Then after you are truly sure about all the measurement and your design plan, now you can buy the beadboard.
There many home depot stores that sell the bead board but you only need to choose the one that meets your measurements.
5. Cutting Beadboard into the Measurement
If you cannot cut your beadboard by yourself, you can go to the outlet around. You need to make sure that the board is cut in the right size. Bring your measurement to avoid the forgetfulness that may happen. Good cutting will also bring a good appearance for your kitchen.
6. Installing to the Wall
After all the beadboard matters are done, now you are ready to put the bead board into the wall. You can install this beadboard by using the nail gun because it will be better than whne you use the glue. Glue will not give a good result and also it will stick on the board when you want toopen it in the future.
7. Custom Cut
You can also make more unique and also attractive additional cutting. It can also give a decorative effect on your kitchen. This custom cut will be really helpful for you because you can easily add texture for your bead board.
8. Cutting Trim
The trim can be put anywhere you want. This will totally based on your preference. Whether in the top, bottom, or even the corner of the board.
9. Painting Time
Many people often caulk the bead board and this will turn out very stunning. This also will keep your kitchen still beautiful and fully functional.
10. Consulting the design
So, when you already follow and do all the steps above, now you can get your own home. Because of the design cannot meet with many people interest, it can be the best if it is for you.
